Complete Guide to the Ownerfy NFT Wizard
Introduction
The Ownerfy NFT Wizard is a web-based tool that allows you to mint NFTs without cryptocurrency. It's free to get started, Ownerfy provides you with your own dedicated smart contract on the blockchain. Other platforms like OpenSea lump your NFTs together onto a shared contract, which is bad for distinguishing the actual creator. You can read more about why minting on Ownerfy is advantageous over minting on a marketplace here.
You start out with 10 free transaction credits. A transaction might be minting an NFT or transferring an NFT to your friend. If you want to make more NFTs, you can always add more credits to your account. All of your NFTs are viewable in your Ownerfy wallet under “My Collection.” Follow along here.
Your Project
If you are reading this, then you probably have an NFT project in mind. NFTs that can be minted on Ownerfy are image files (jpeg, png, bmp, mp4, or gif) up to 10MB in size. As long as you can structure your project in the form of an image file, then Ownerfy can take care of it. Once you have your files ready, you can prepare to mint them as NFTs to your contract.
Prepare Your Tech
The beauty of the Ownerfy NFT Wizard is that there is very little that is needed in order to be up and running minting NFTs. You will need to create an account on Ownerfy and it's now free. You’re ready to go.
If you plan on selling them on another NFT marketplace you will need one more thing. You will need to install the Chrome extension MetaMask and create a wallet there. You can link Ownerfy to that and bring your NFTs anywhere you want. This step is not necessary to create or view your NFTs though.
Make NFTs!
The first thing you need to do is buy a contract for your NFTs on Ownerfy. Once you’ve made an account, click on the button on the front page of Ownerfy for the NFT Wizard. You’ll be prompted to enter a name for your new collection (your contract) and enter credit card information to make the $10 purchase.
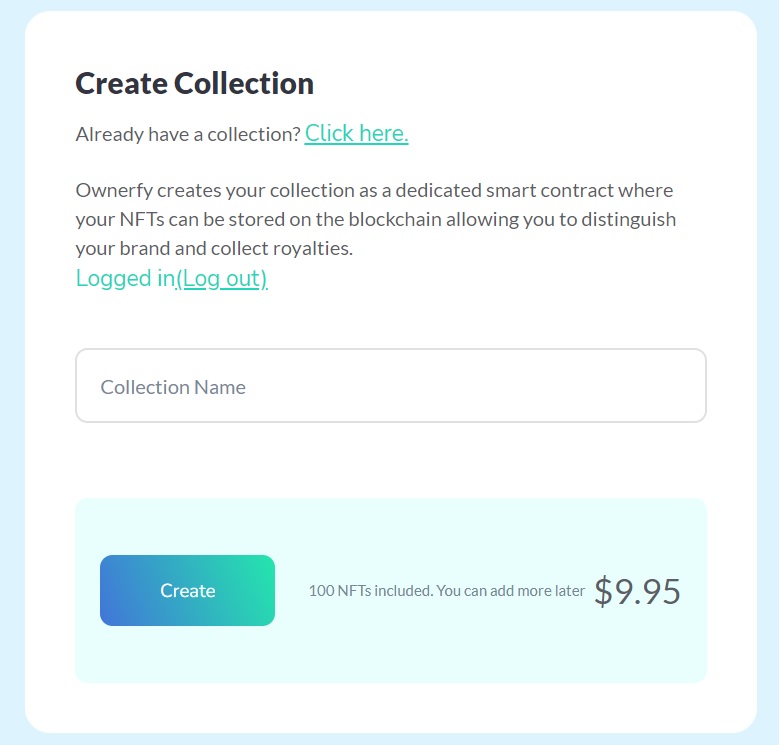
The contract you buy belongs to you and will hold all of your NFTs. This is unlike other sites that let you make NFTs, but they are made on their contract. With the contract you buy through Ownerfy, you can take it anywhere you like and continue to add NFTs to it indefinitely. You are not tied to any particular website, service, or platform.
Now that you have a contract and some image files, it is time to mint them as NFTs. This is a good place to pause and come up with a plan for your project because once they are on the blockchain, they cannot be edited. Ownerfy gives you the option to add metadata such as a name and description as well as attribute tags. You may want to consider how you will organize your NFTs and try to give them consistent metadata.
It’s time to do the minting now. In the box labeled, “Token Name,” enter the name of your NFT. Then click the “Upload File” button to upload your image file.
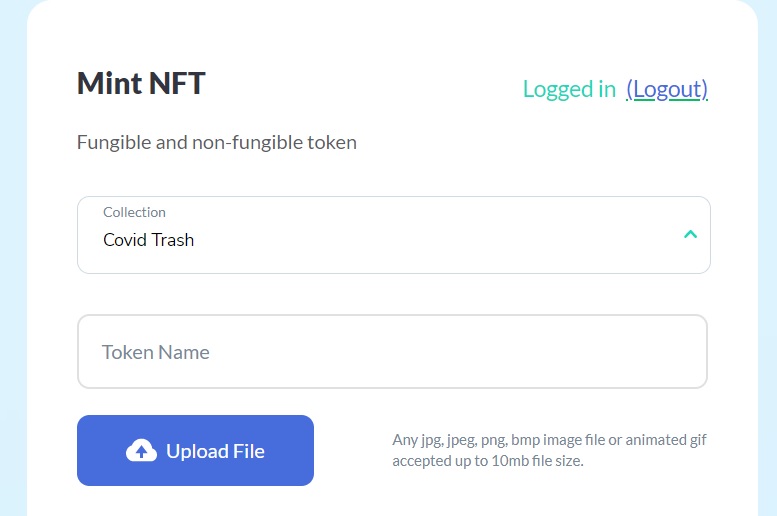
While that is uploading, make sure your asset is set as “NFT” and then add the necessary metadata. The description is below “upload” and the attributes are on the right.
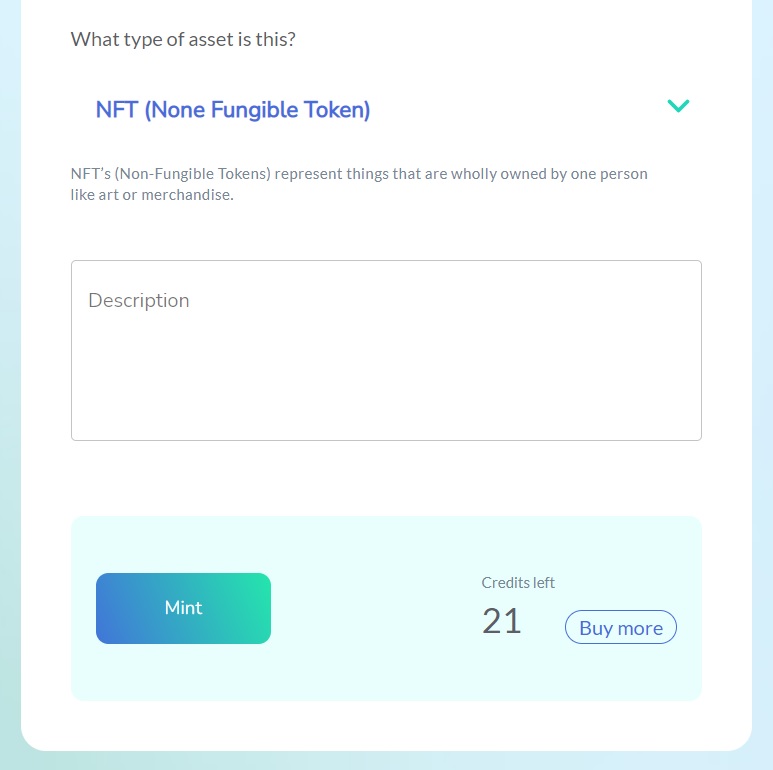
Once all of that is entered, double check that all of the formatting, spelling, attributes, etc are all correct and the way you want them because once you mint it, there is no way to edit things on the blockchain. After double checking, click to mint it and you’re all done!
You’ve now minted an NFT. It will take a few minutes to appear in your collection so in the meantime, you can follow that process again to continue minting more NFTs or check out your collection later to marvel at your work preserved on the blockchain forever. Your collection can be found on the top right under the “Account” button.
What About The Future?
Now that you have minted your NFTs using the Ownerfy NFT Wizard and have a collection of NFTs accessible on the Ownerfy platform, what’s next? The nature of this type of technology means that your NFTs will exist on your contract for as long as the Polygon blockchain does. There are no subscriptions to renew or anything like that. You own the contract and that’s that.
You can continue to add NFTs to your collection on Ownerfy through the steps outlined above with the NFT Wizard. If you run out of transactions (you begin with 100), then you can just buy more through the Wizard without having to get a new contract.
If your plan is to archive your work on the blockchain for posterity, security, and professional integrity, then congratulations, you're all done! Your Ownerfy contract has put your work on the Polygon blockchain and now everybody knows you're the owner of that work. You can add more NFTs via Ownerfy later if need be.
Next Step: Sell Your NFTs (Optional)
For now you have to find a marketplace to list them for sale. A common choice (it is linked in your NFT in Ownerfy) is OpenSea, but there are many others. The benefit of owning your contract the way you do with Ownerfy is that you can take your collection to any marketplace you like.
After claiming your contract on your chosen marketplace (see the next section), now you have to list each NFT for sale.
Lastly, you need to advertise your collection via social media to get your work in front of your future collectors.
Claim Your Collection on OpenSea (Optional)
In order to eventually sell your NFTs on the OpenSea marketplace, you will need to claim your contract there. The NFTs are in a collection under your contract, but OpenSea doesn’t know you are the owner of the contract. You have to claim that.
The first thing you need to do is make sure you have the Metamask Chrome extension installed and that your Ownerfy wallet is set as your current wallet in Metamask. You set it the first time by importing your Ownerfy “Wallet Private Key” which you get under the settings menu in your Ownerfy account.
Inside all of your NFTs in your collection in Ownerfy, there is a link to view it at OpenSea. Click the link to go to their platform. OpenSea should recognize your wallet as the owner of the contract so you can now change the settings on the collection in OpenSea. You can do things like choose background pics, make an official title (it doesn’t have to be what you named it at Ownerfy), pick a personalized url, set the commission percentage, etc. All of these things can be changed later, but to avoid confusion for your collectors, you should be thoughtful about the decisions and set them once at the beginning.
Tips, Tricks, and Suggestions
- If you make a mistake with an NFT, there is no edit button.
- The important concept about blockchain technology is that the data added to it is immutable – that includes your NFT and its metadata.
- If you want to make a change, you need to burn the NFT and remake it the way you had intended.
- This is why planning in the beginning is so important.
- Unlike other sites, Ownerfy saves the image for you on the IPFS.
- You should upload the highest quality image possible for your NFT.
- Be consistent when naming your NFTs.
- Use the description metadata.
- The description metadata can be used to include more information on the NFT which may include an actual description of the piece or the group of work it belongs to.
- You may also want to include your personal information such as your name/professional alias, website, or social media links so that people know who created the NFT.
- Use attributes.
- Attribute tags can be useful in categorizing the NFTs within your collection.
- The tags are entirely up to you to create, but some that may be helpful are things like: series, type, style, etc.
- Using tags like this will allow your collection to be searched later for specific kinds of NFTs.
- Attributes are case sensitive so be careful.
- Write down the attributes you use so you know what they are for future NFTs
- In OpenSea, pick a good name for your collection that reflects your overall brand.
- In OpenSea, pick a url related to the collection name and one that is easy to write down and remember.
- The commercial success of a collection rides on its volume
- Keep all your NFTs in the same collection
- Use attributes to distinguish between different types of work in your collection.
- Keep all your NFTs in the same collection
- In addition to getting a collection verified, you should also work on making your OpenSea profile look legitimate.
- You are listed as the owner of the contract/collection so you can legitimize your project to future collectors by adding personal information such as website, social media accounts, short bio, and profile pic.
- After some volume of trading, you can get a blue check verification which adds to your legitimacy
- If you already have a blue check on your socials, then you can transfer that over
- Adding info shows collectors you're not part of a pump and dump scam and that they should be excited to get involved in collecting your work
- You can edit the info for the collection later, but it's best to be thoughtful and do it right at the beginning.
- You don't want to confuse people or end up in a situation where you've distributed links/QR codes that don't work anymore.
- If you're hyping a big drop, get all your NFTs up in advance.
- As you mint them, it takes time for them to appear in your collection and for all the metadata to transfer over to the marketplace.
- It's best to get everything up well in advance of your drop.
Walking Through An Example
If minting an NFT through Ownerfy still sounds like a difficult task, then maybe an example will remove all doubt that the Ownerfy Wizard is the easiest way to mint NFTs on the internet.
Let’s mint a cat NFT on my contract that I have purchased through the NFT Wizard. I drew this cat and made a few variations for the background and I think this will make a good NFT project. I will create an NFT for each cat drawing, but I will name them similarly and use attributes to make it easier for them to be found by someone looking for cat NFTs.
Let’s get started. I already have an Ownerfy account and created my contract so I am ready to mint to it. I have my image and project with a plan too. Now all that’s left to do is the actual minting process.
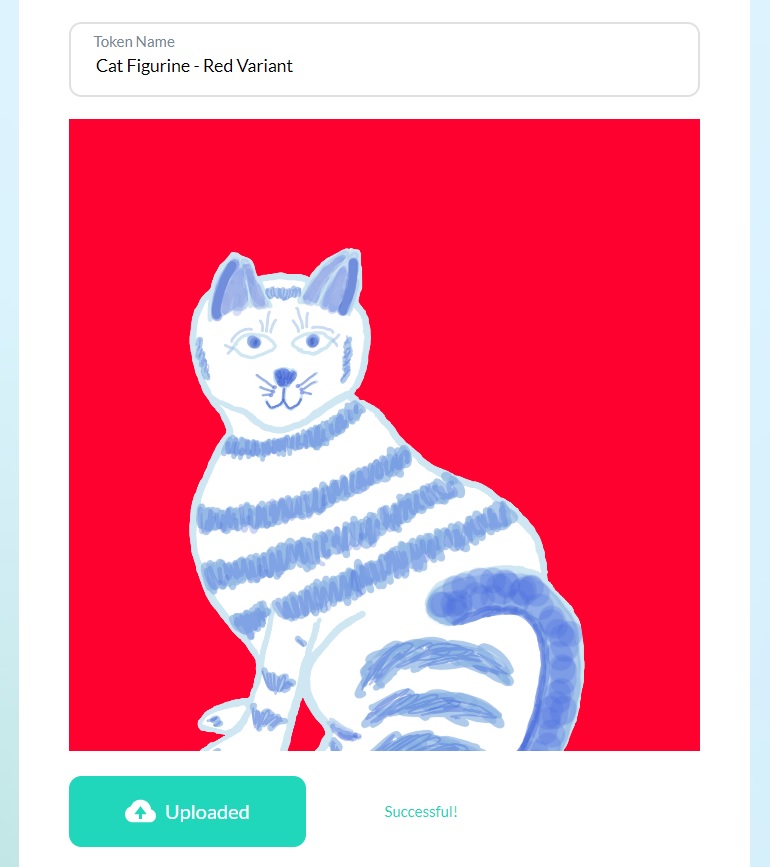
Once I am in the Wizard and have selected my collection, I need to give a name to my new NFT. I will put that in the box marked, “Token Name.” I want to keep all of my cat NFTs consistent so I’m going to name this one, “Cat Figurine - Red Variant.” (I already made a blue and a pink one which we will see.) All of my cat NFTs are going to have similar names so they will be well organized on my contract.
Next, I click the blue “Upload File” button to select my image. I navigate to that on my computer and select the jpeg image of my cat drawing. Ownerfy will display the image so make sure it’s the one you want as there is no editing the blockchain.
Here’s what progress we have made so far:
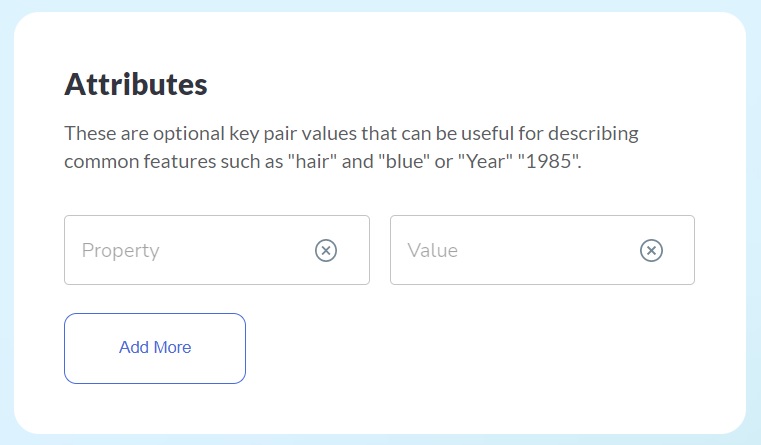
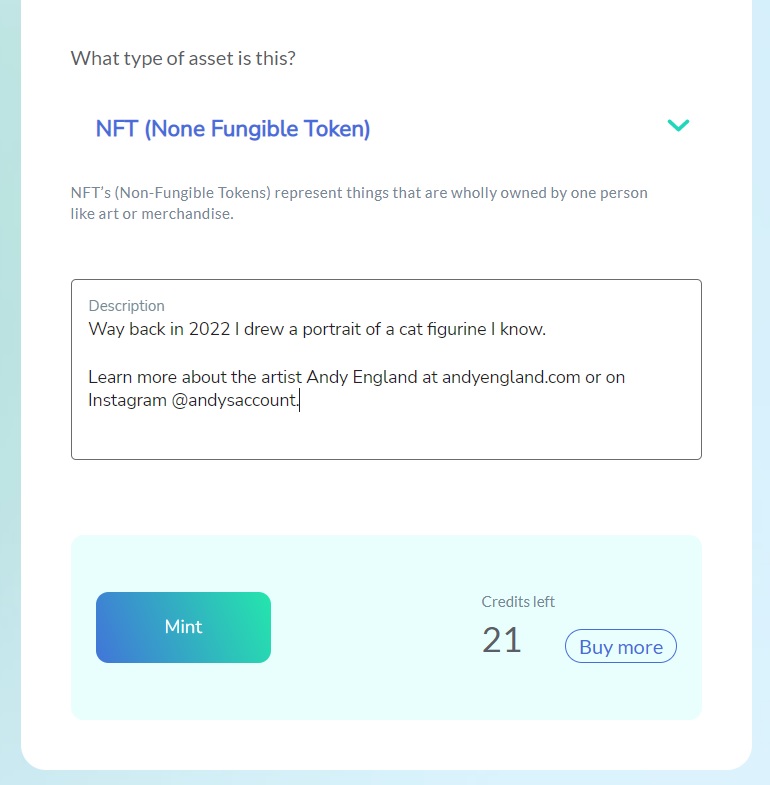
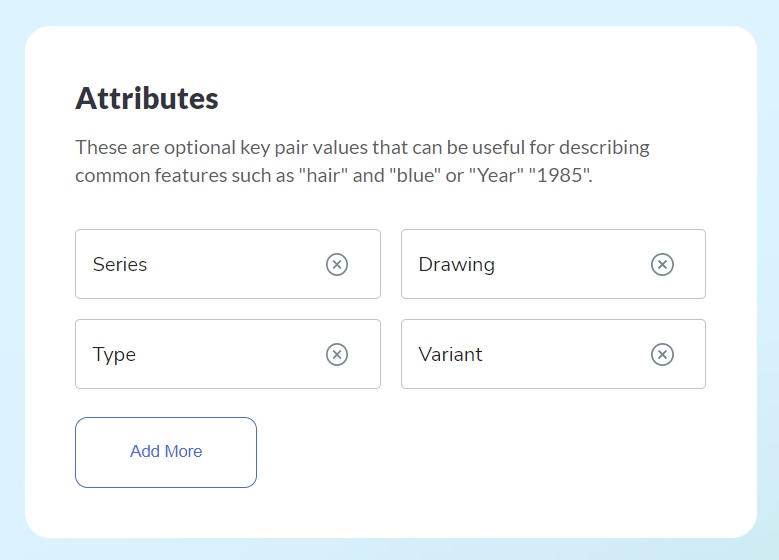
Before I mint this, I want to include some metadata in the form of a description and attributes. In the description box, I give a description of what this piece means as well as contact information for me so a collector can find more of my work later. In the attributes, I have been classifying some of my work as a series of drawings and some types are variants (others are unique).
Here’s what my metadata looks like:
Now that everything is filled in and my image is uploaded, I double check all the fields to make sure it is exactly the way I want it to look. I make sure the attributes are typed correctly as they are case sensitive and the name matches the image shown. Once I am 100% certain it is perfect, I click “Mint” to create my new NFT.
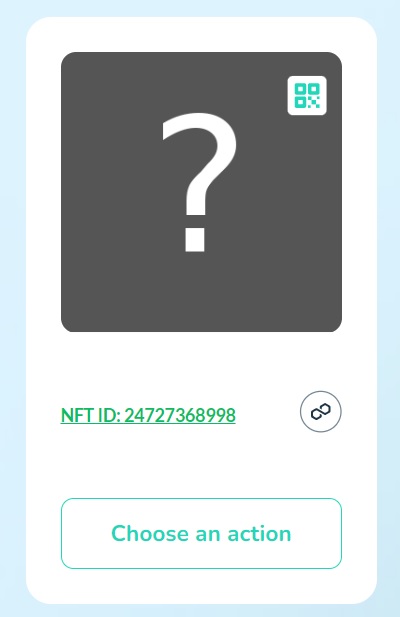
It takes a few minutes to show up in my collection. In the meantime, it looks something like this:
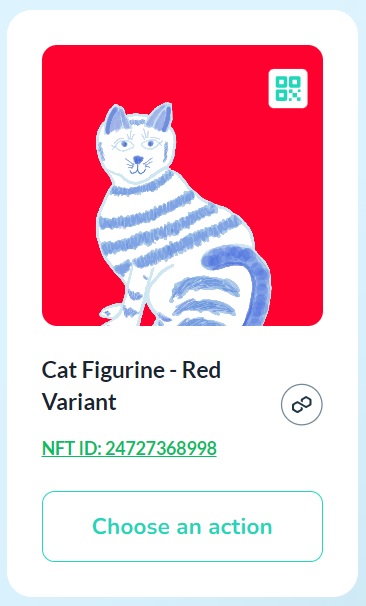
After a few minutes, this is how it looks in my collection:
This is how the metadata appears for the NFT in the Ownerfy platform:
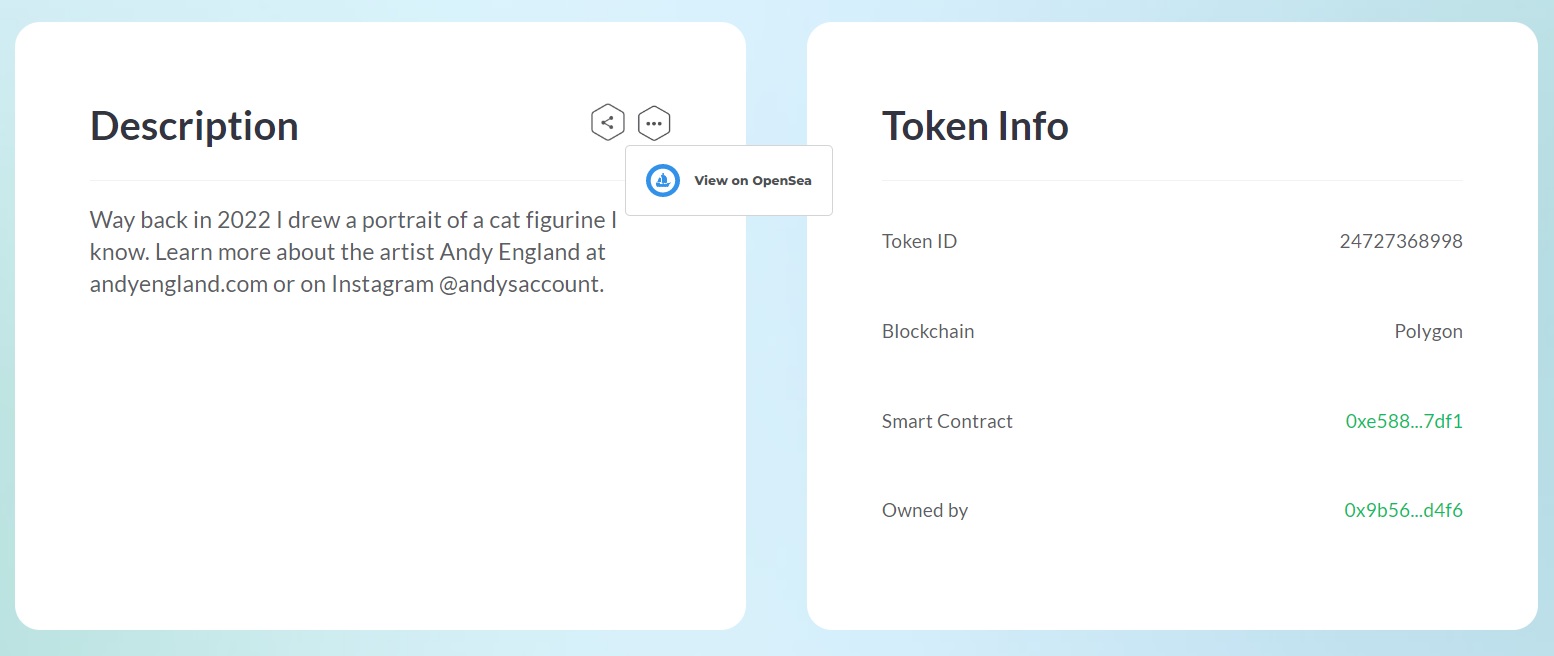
If you notice, there is a button that gives a link to view the NFT on OpenSea. There, you can see how the metadata appears for that NFT on the OpenSea marketplace:

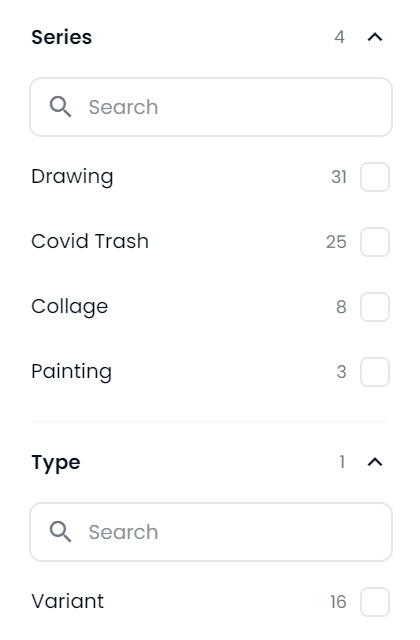
For a random person viewing my collection at OpenSea, they may have a hard time finding this type of NFT. At OpenSea, you can use the attributes to search through the NFTs in a collection. Here is what the search area looks like for my collection:
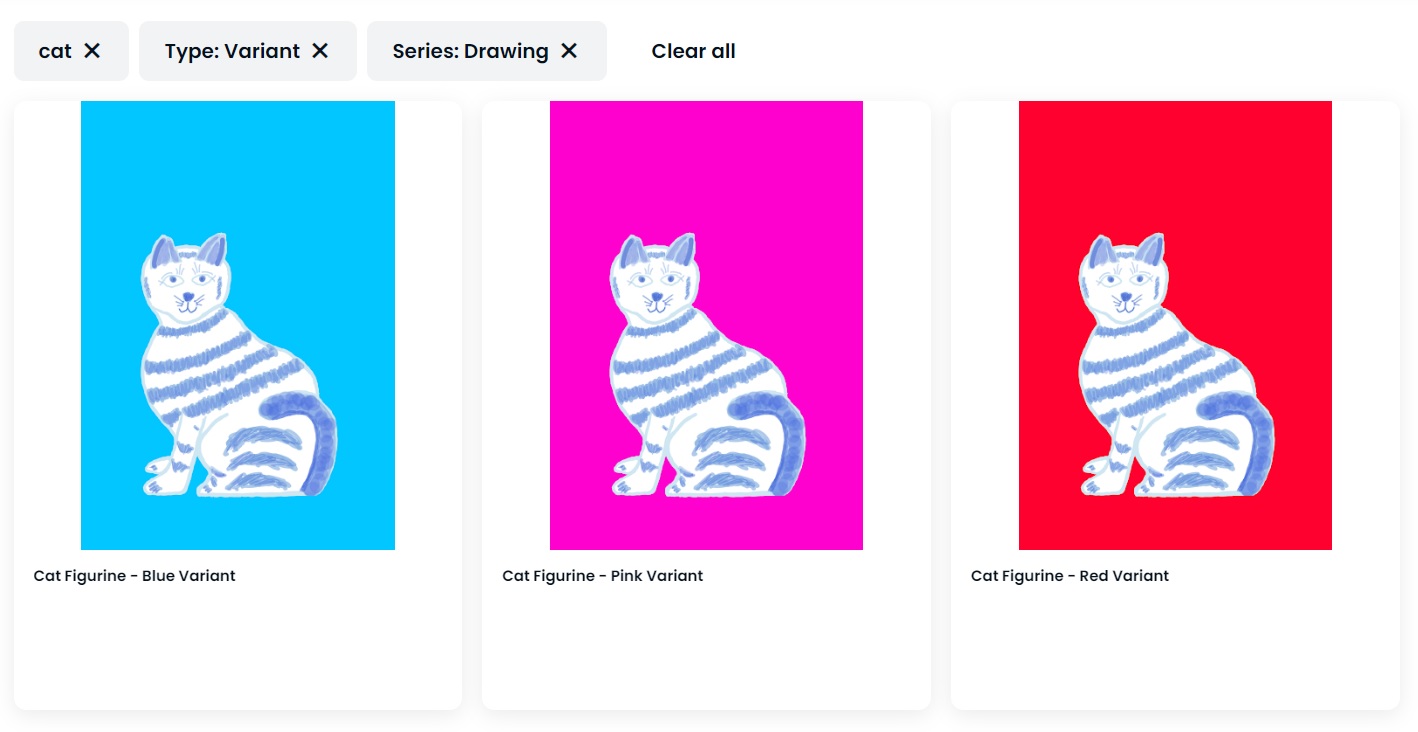
After selecting the “Drawing” series, “Variant” type, and searching for “cat,” you will see the variants of this cat NFT.
Hopefully by walking through that example, you will have the confidence to make your own NFTs through the Ownerfy Wizard now!
Special thanks to Andrew England for his writing and art!
Andy England
andyengland.com
@andysaccount
https://opensea.io/collection/andy-england